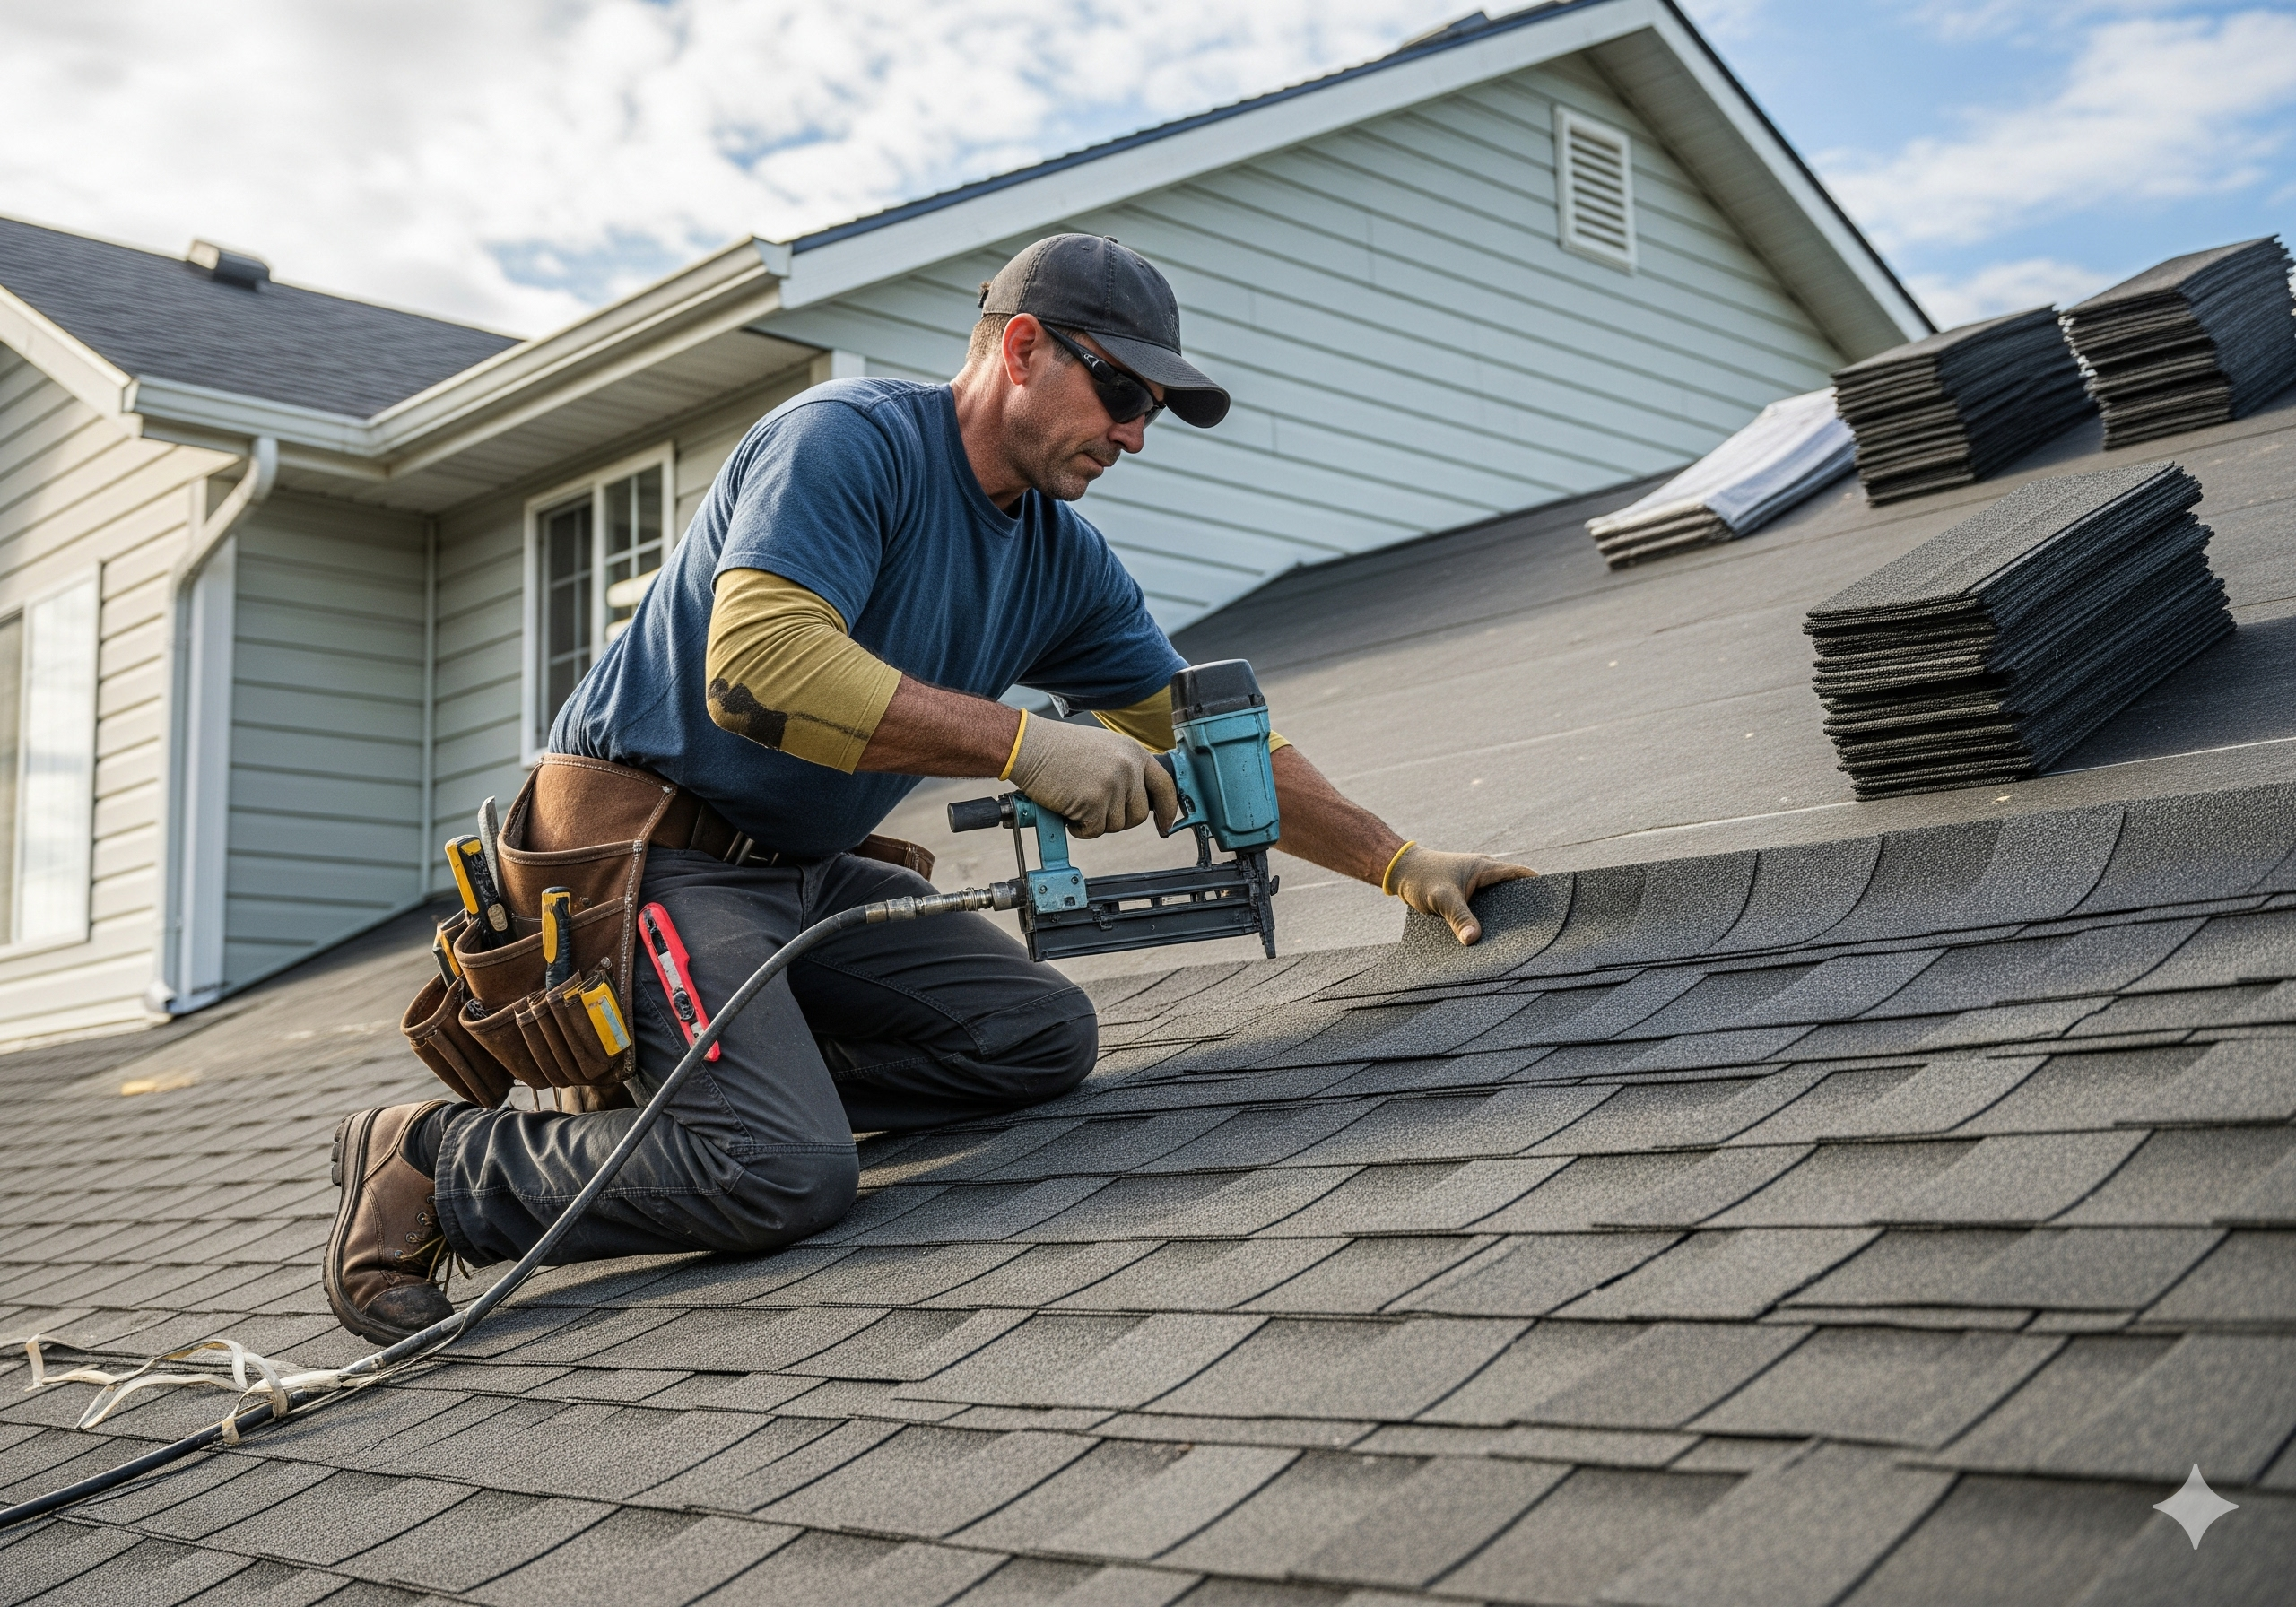
Learning to shingle a roof correctly requires guidance that any roofing contractor in Indianapolis, IN would recommend for homeowners. This step-by-step guide covers everything you need to know before starting your roofing project. We’ll walk you through roof preparation, material selection, inspection techniques, and proper installation methods. Each section breaks down complex roofing tasks into manageable steps. By following these proven techniques, you can complete a professional-quality roofing job.
Roof Preparation
Before you shingle a roof, proper preparation makes all the difference in your project’s success. Start by checking your roof for damage or rotting wood that needs repair. Remove old shingles, loose nails, and debris from the surface completely. Check that your roof has proper ventilation and make fixes if needed. Install quality underlayment to protect against water damage and create a smooth base for new shingles.
Material Gathering
Getting the right materials ready before you start saves time and prevents delays. You’ll need shingles, underlayment, roofing nails, flashing, roofing cement, and ridge caps for your project. Pick durable shingles that work well in your local weather conditions. Buy enough underlayment to cover your entire roof with proper overlap. Have basic tools ready, including a hammer, utility knife, ladder, and safety equipment for safe working.
Roof Inspection
Check your roof carefully before installing new shingles to spot potential problems early. Look at the roof structure for sagging areas or damaged wood that needs replacement. Examine the surface for missing, cracked, or curled shingles that require attention. Check flashing around chimneys, vents, and skylights to make sure they’re sealed properly. Clean out gutters and downspouts so water can drain away from your roof correctly.
Shingle Installation
Start shingle installation by preparing a clean, dry surface free of debris or protruding nails. Apply underlayment as a protective barrier, overlapping each section properly to prevent leaks. Begin installing shingles at the bottom edge and work your way up toward the peak. Secure each shingle with nails placed in the designated nail line for proper hold. Keep consistent spacing and alignment for a professional appearance that lasts.
Ridge Cap Installation
Ridge caps provide the finishing touch while protecting the peak where the roof slopes meet. These pieces cover the highest point of your roof and prevent water from getting inside. Install ridge caps securely using appropriate nails or adhesive to handle weather conditions. Make sure each piece overlaps correctly and aligns properly for a watertight seal. Proper ridge cap installation protects your roof and improves its overall look.
Final Roof Finishing
Complete your roofing project by checking every detail for long-lasting results. Walk around and inspect all shingles to make sure they’re secure and properly positioned. Cover any exposed nail heads with roofing cement to prevent leaks. Look for gaps or uneven edges that might let water in later. Apply sealant along edges and seams for extra protection, then clean up debris and check ventilation under the roof.
Related Topics:

